
In this tutorial I will cover how to setup a Jamf Pro hosted on AWS. Jamf uses Tomcat and MySQL so I will make use of Elastic Beanstalk and RDS. Cloud Distribution Point will be hosted on S3.
Prerequisites
Get started
First you need to download the JSS Manual Installation that we need to extract and edit before using it with Elastic Beanstalk.
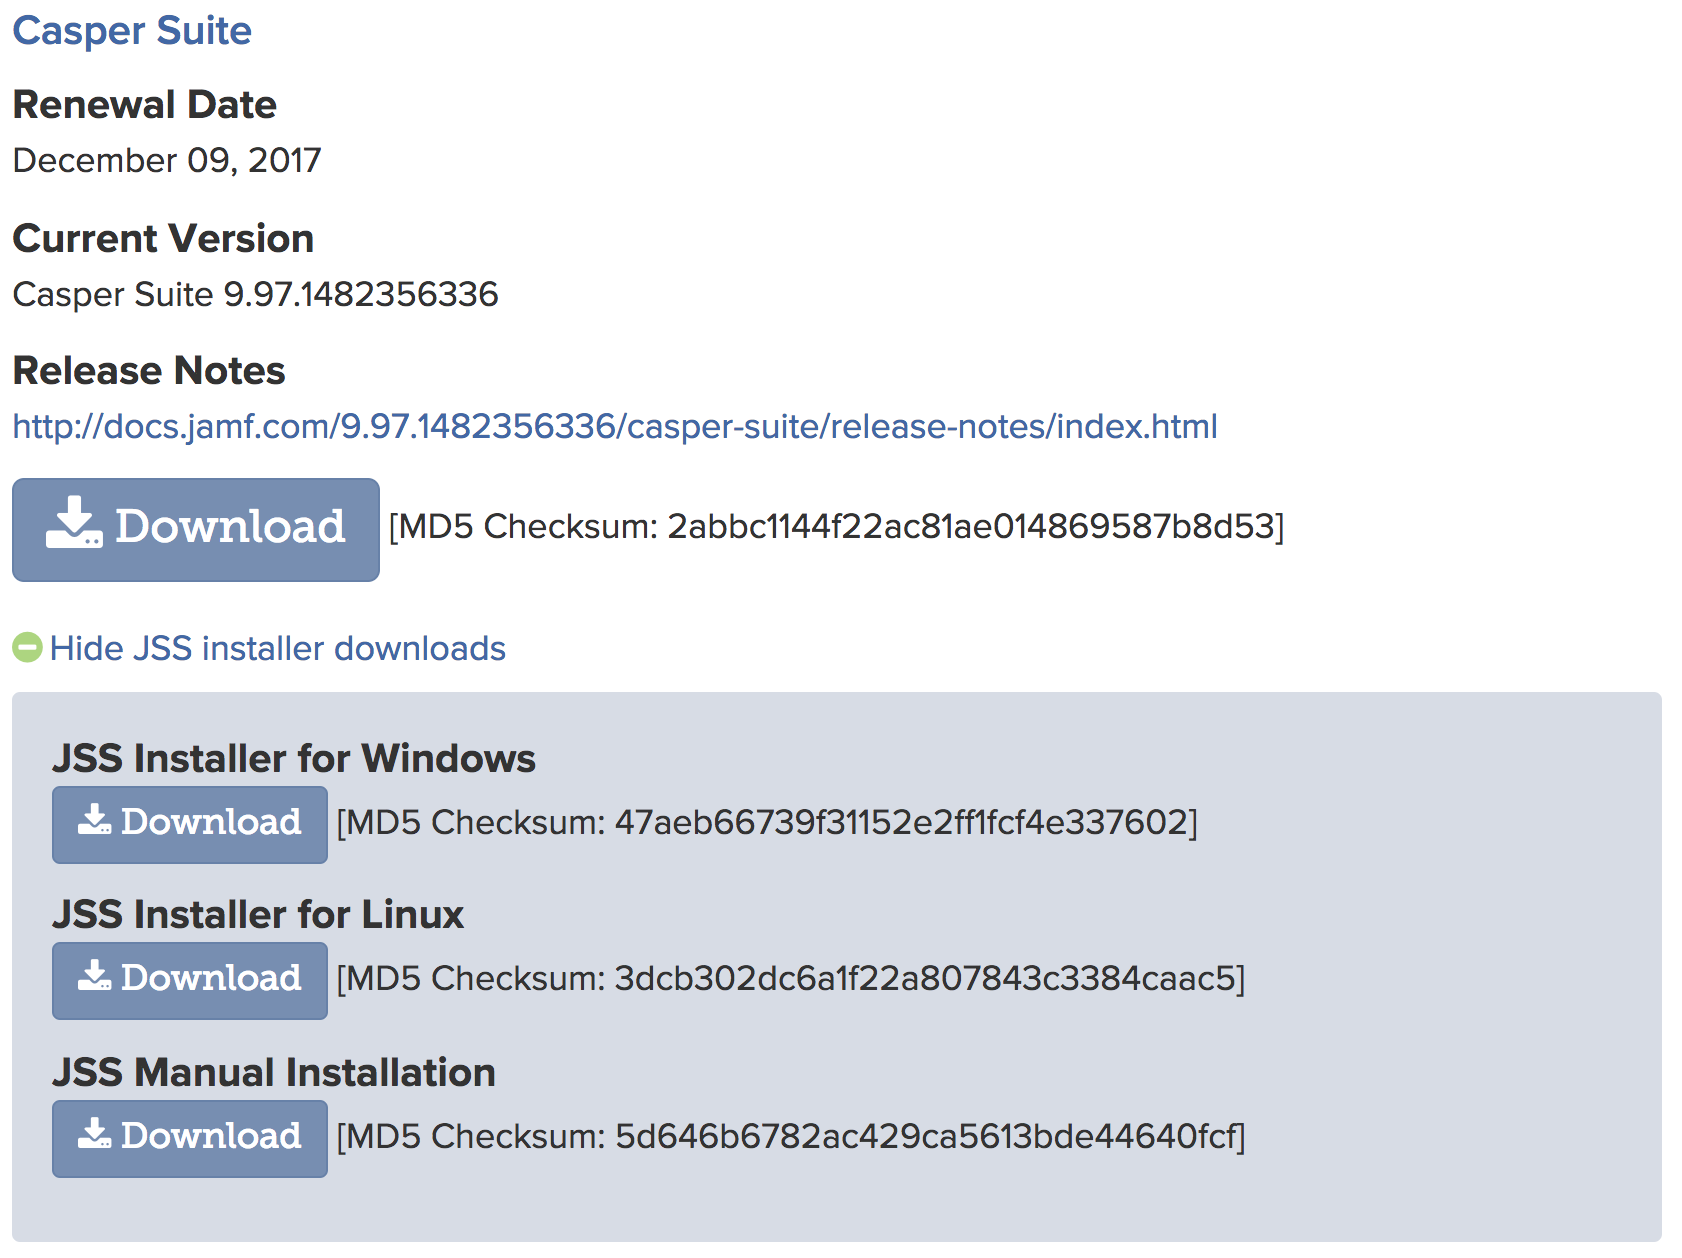
Download file and move it to a location in my case ~/LABS/JSSInstallation
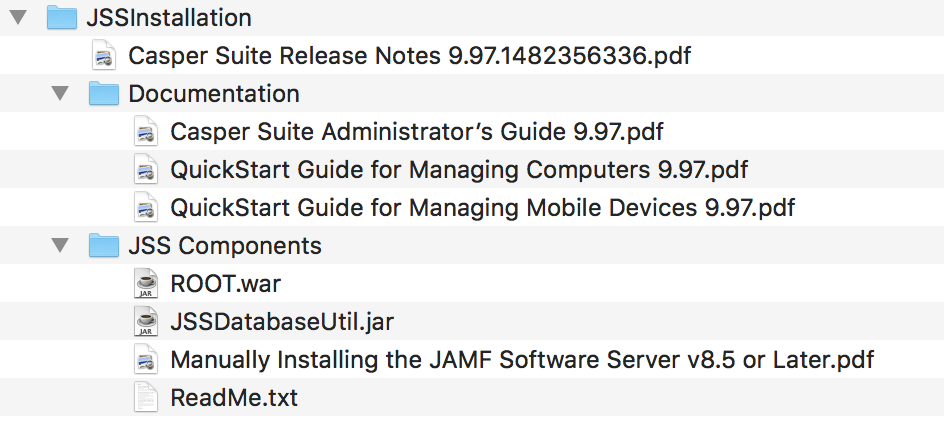
Create a directory where to extract the war file, make a copy for the war file to extract.
mkdir ~/LABS/JSSInstallation/jamf.9.97.1482356336.eb/cd ~/LABS/JSSInstallation/jamf.9.97.1482356336.eb/cp ~/LABS/JSSInstallation/JSS\ Components/ROOT.war .jar -xvf ROOT.war && rm ROOT.warFile configuration
When using Elastic Beanstalk you need to add some extensions to switch proxy from default apache to nginx as apache does not have the required backend configurations needed. This is easily done using ebextensions.
Create the catalog inside the extracted catalog.
mkdir ~/LABS/JSSInstallation/jamf.9.97.1482356336.eb/.ebextensionsCreate tomcat settings files.
vim ~/LABS/JSSInstallation/jamf.9.97.1482356336.eb/.ebextensions/tomcat-settings.configIn this example I have set some new memoy settings to use 512m RAM as base of a maximum 1536m and switched default proxy to nginx.
option_settings:
  aws:elasticbeanstalk:container:tomcat:jvmoptions:
    Xms: 512m
    Xmx: 1536m
    JVM Options: '-Xmn128m'
  aws:elasticbeanstalk:environment:proxy:
    GzipCompression: 'true'
    ProxyServer: nginx
For nginx and load balancing to work we need to update remote-ip-valve option to server.xml.
vim ~/LABS/JSSInstallation/jamf.9.97.1482356336.eb/.ebextensions/tomcat-server-xml.configfiles:
"/tmp/update_tomcat_server_xml.sh":
owner: root
group: root
mode: "000755"
content: |
#! /bin/bash
CONFIGURED=`grep -c 'remoteIpProxiesHeader="x-forwarded-by"' /etc/tomcat8/server.xml`
if [ $CONFIGURED = 0 ]
then
sed -i 's/protocolHeader="X-Forwarded-Proto"/remoteIpHeader="x-forwarded-for" remoteIpProxiesHeader="x-forwarded-by" protocolHeader="x-forwarded-proto"/' /etc/tomcat8/server.xml
logger -t tomcat_conf "/etc/tomcat8/server.xml updated successfully"
exit 0
else
logger -t tomcat_conf "/etc/tomcat8/server.xml already updated"
exit 0
fi
container_commands:
00_update_tomcat_server_xml:
command: sh /tmp/update_tomcat_server_xml.shNow we are ready to compress the project, check out Bonus or move over to Compress WAR file
Bonus
Use environment variables with the Database.xml so you can define these during the creations of the application in Elastic Beanstalk.
Work in progress
Compress WAR file
Extensions to the project has been added and it’s time to compress the updated file.
cd ~/LABS/JSSInstallation/jamf.9.97.1482356336.eb/jar -cvf jamf.9.97.1482356336.eb.war * .ebextensionsNow we are ready to move over to AWS console where you will upload the jamf.9.97.1482356336.eb.war.
AWS
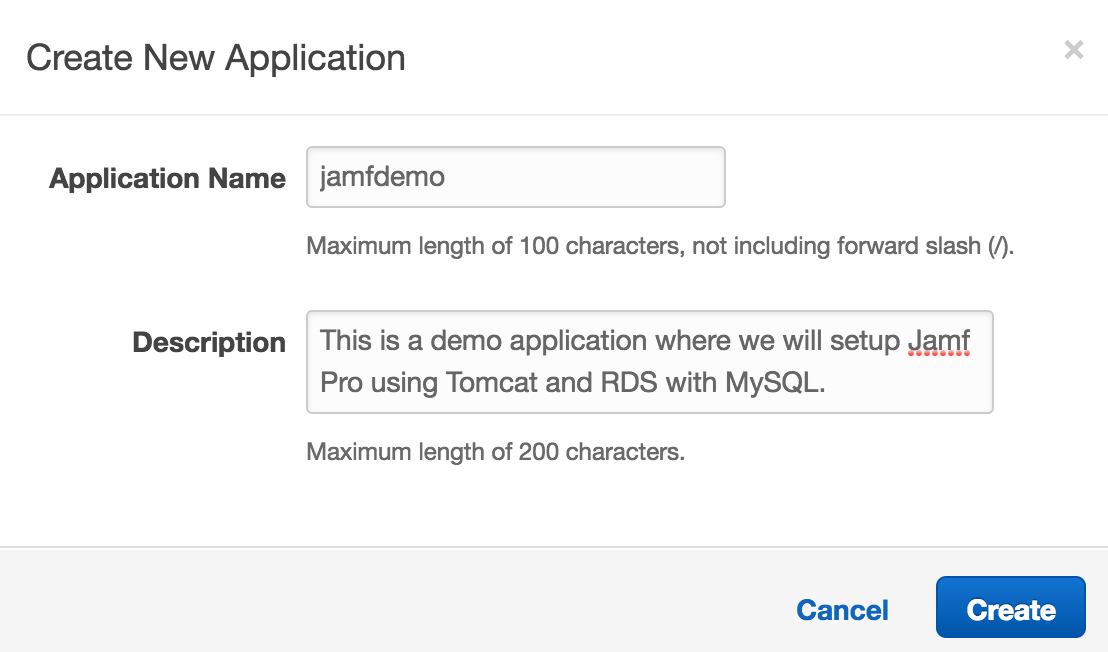
It’s time to setup an application, first we need to click Create New Application in top left corner.

Next fill in a name for your application and description and click Create.
Next select Application versions and click Upload and fill in the details as shown below and select the file jamf.9.97.1482356336.eb.war we created.

Now select Environments on the left side and click Create one now. and select Web server environment

Now need to setup the basics and more options begin with select Tomcat as platform and jamf.9.97.1482356336.eb.war as Existing version
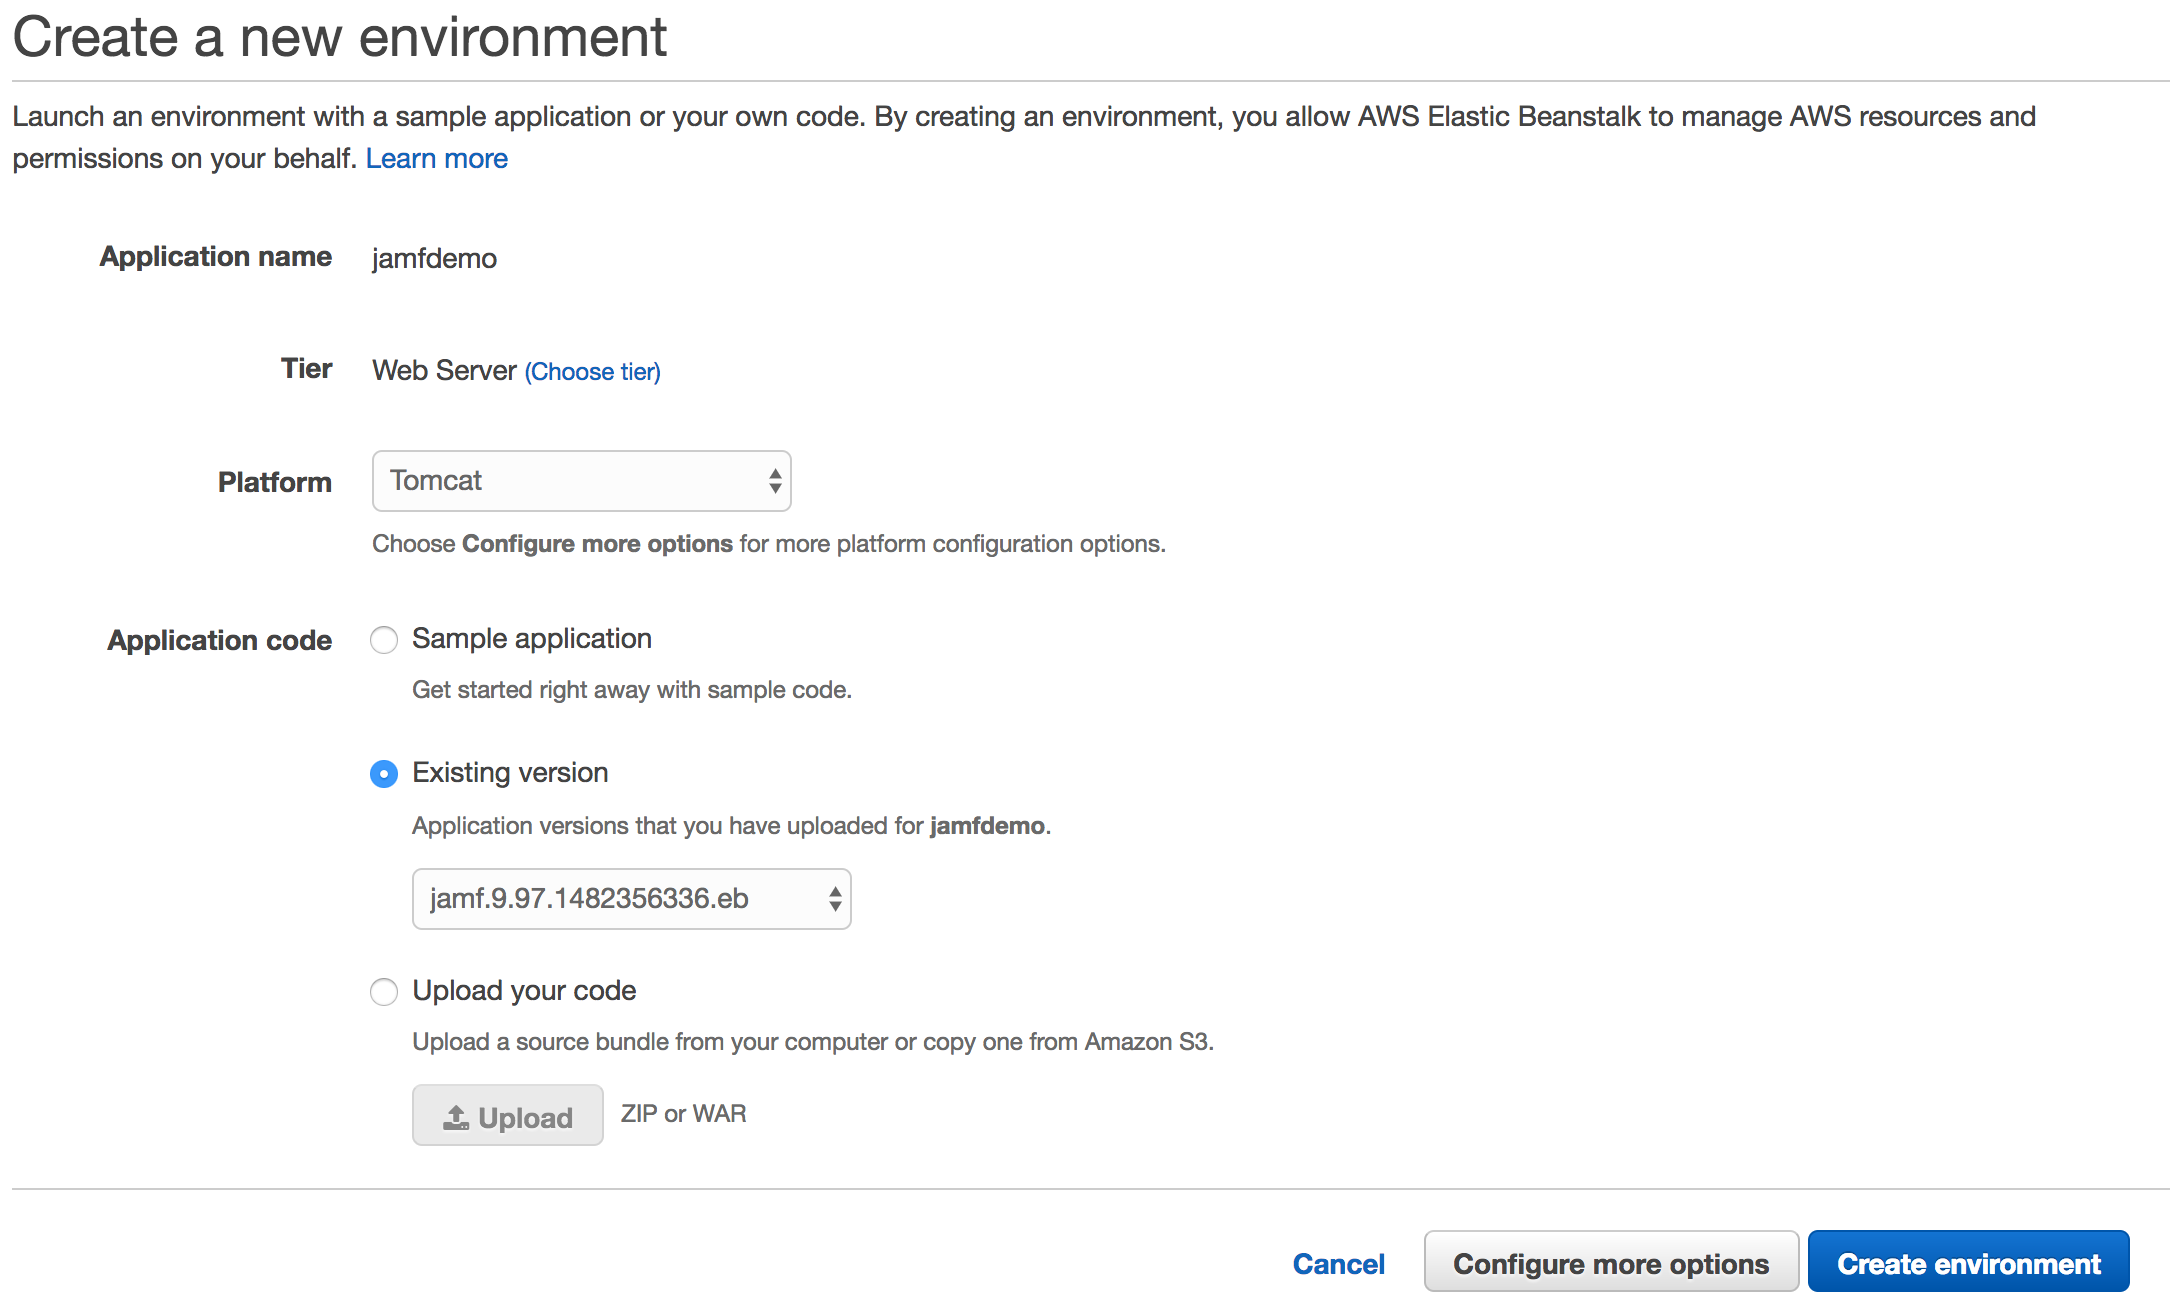
Now click Configure more options where you need to set Environment settings, Instances and Database. There are more options but these you can explore on your own.
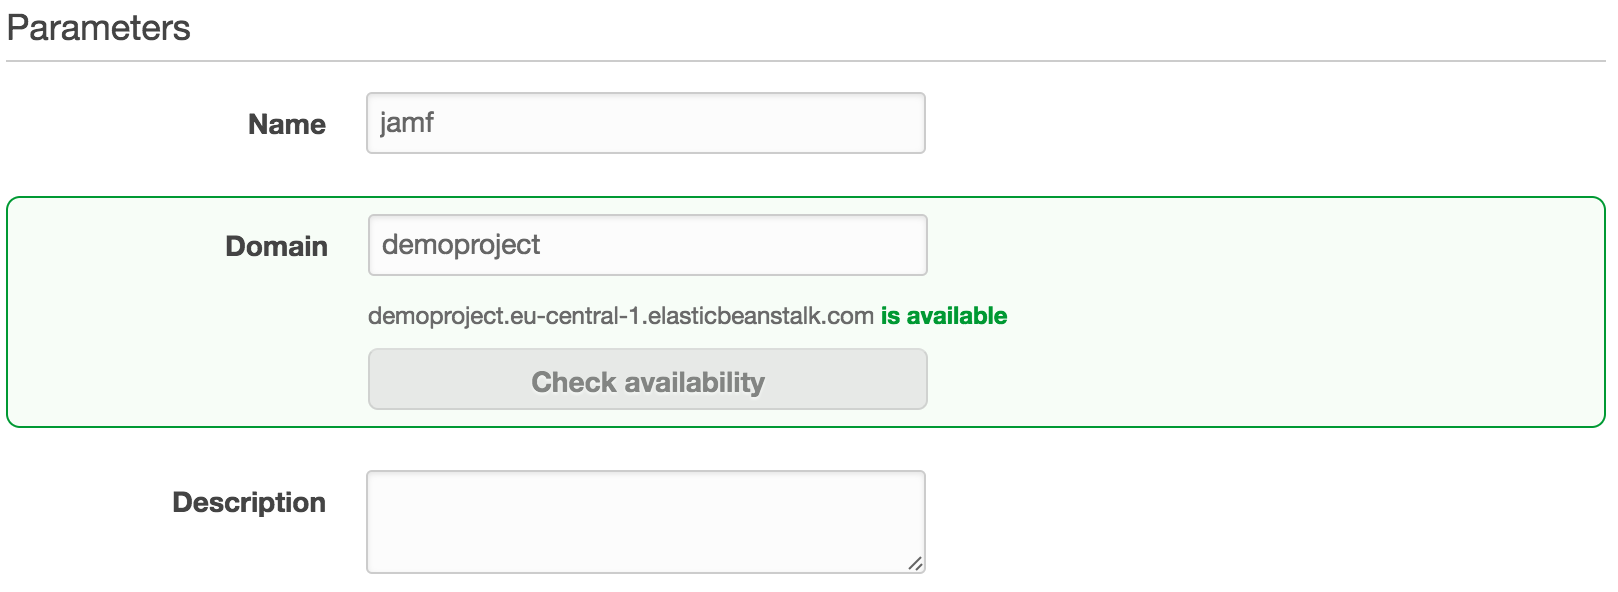
Environment settings
Now select Environment settings and feel to fill in the fields with your own details.
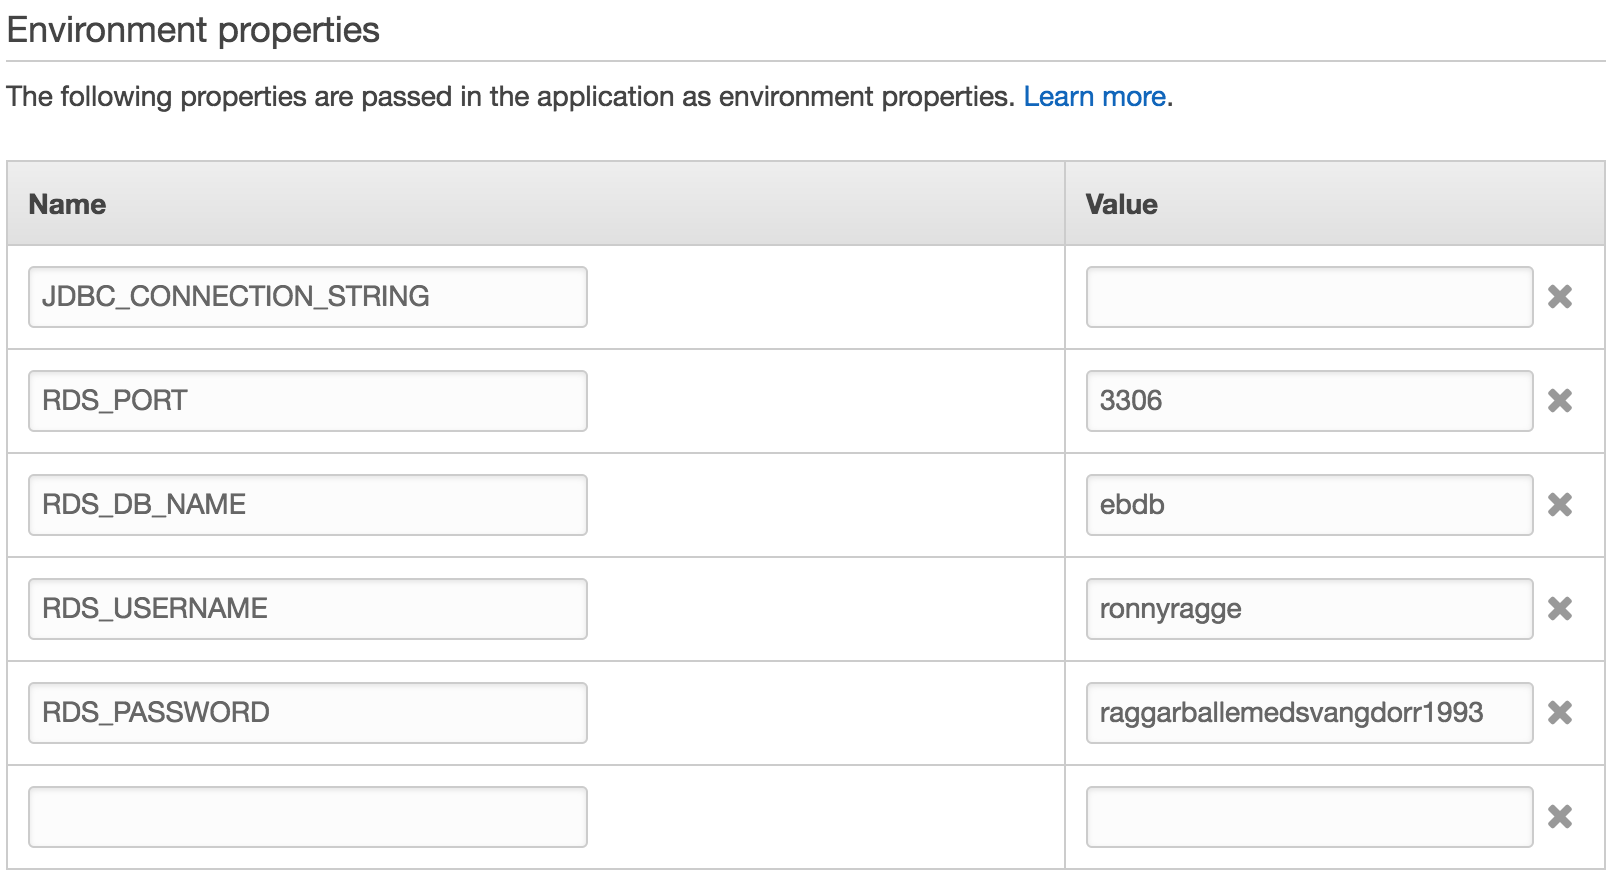
Software
Now select Software and fill all fields as show in screenshot but change RDS_USERNAME and RDS_PASSWORD vaules to something of your own choosing.
You can use RDS_HOSTNAME if you have created the mysql database pre-hand in RDS but in this guide I will skip this step.
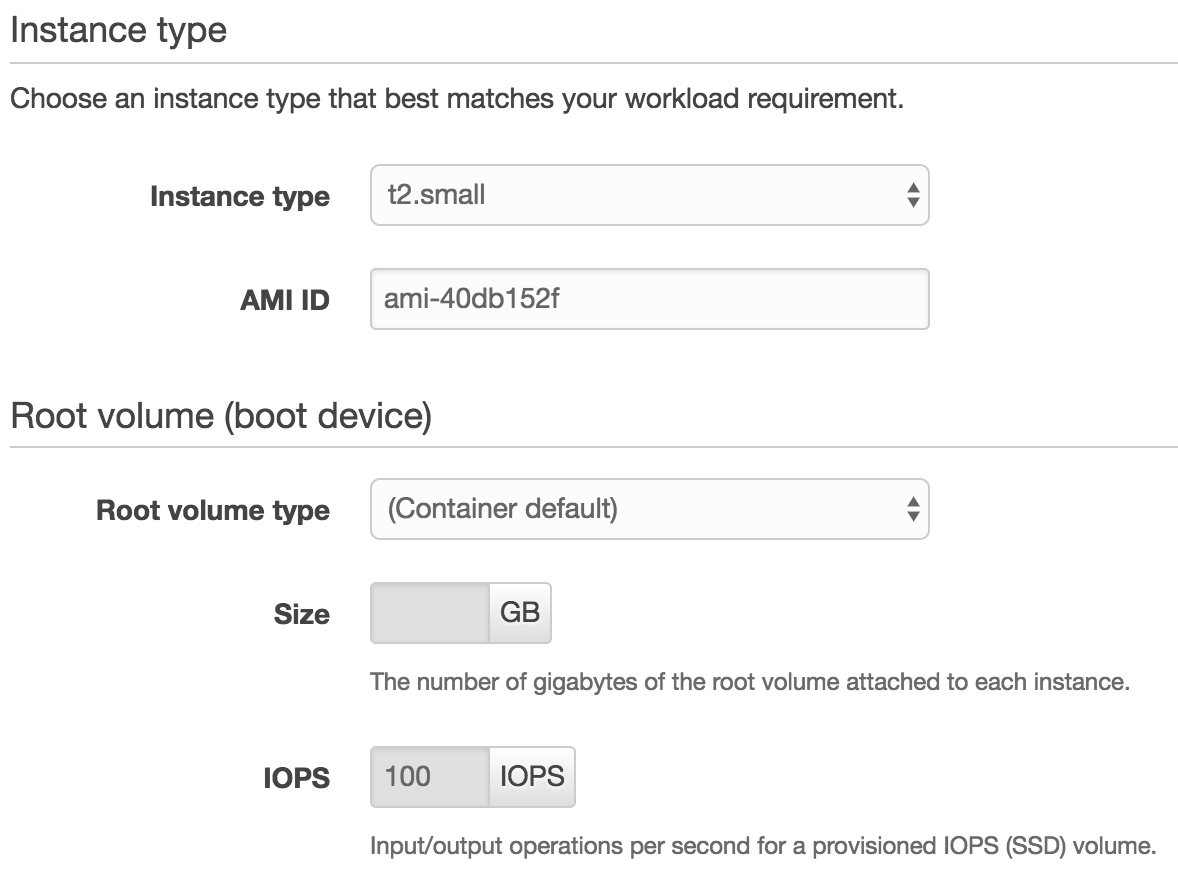
Instances
Jamf Pro’s recommendations are 2GB ram so I chose t2.small. If this becomes an issue in your production you can always later switch and redeploy application or activate load balancing. Check out the different EC2 Instance Types.
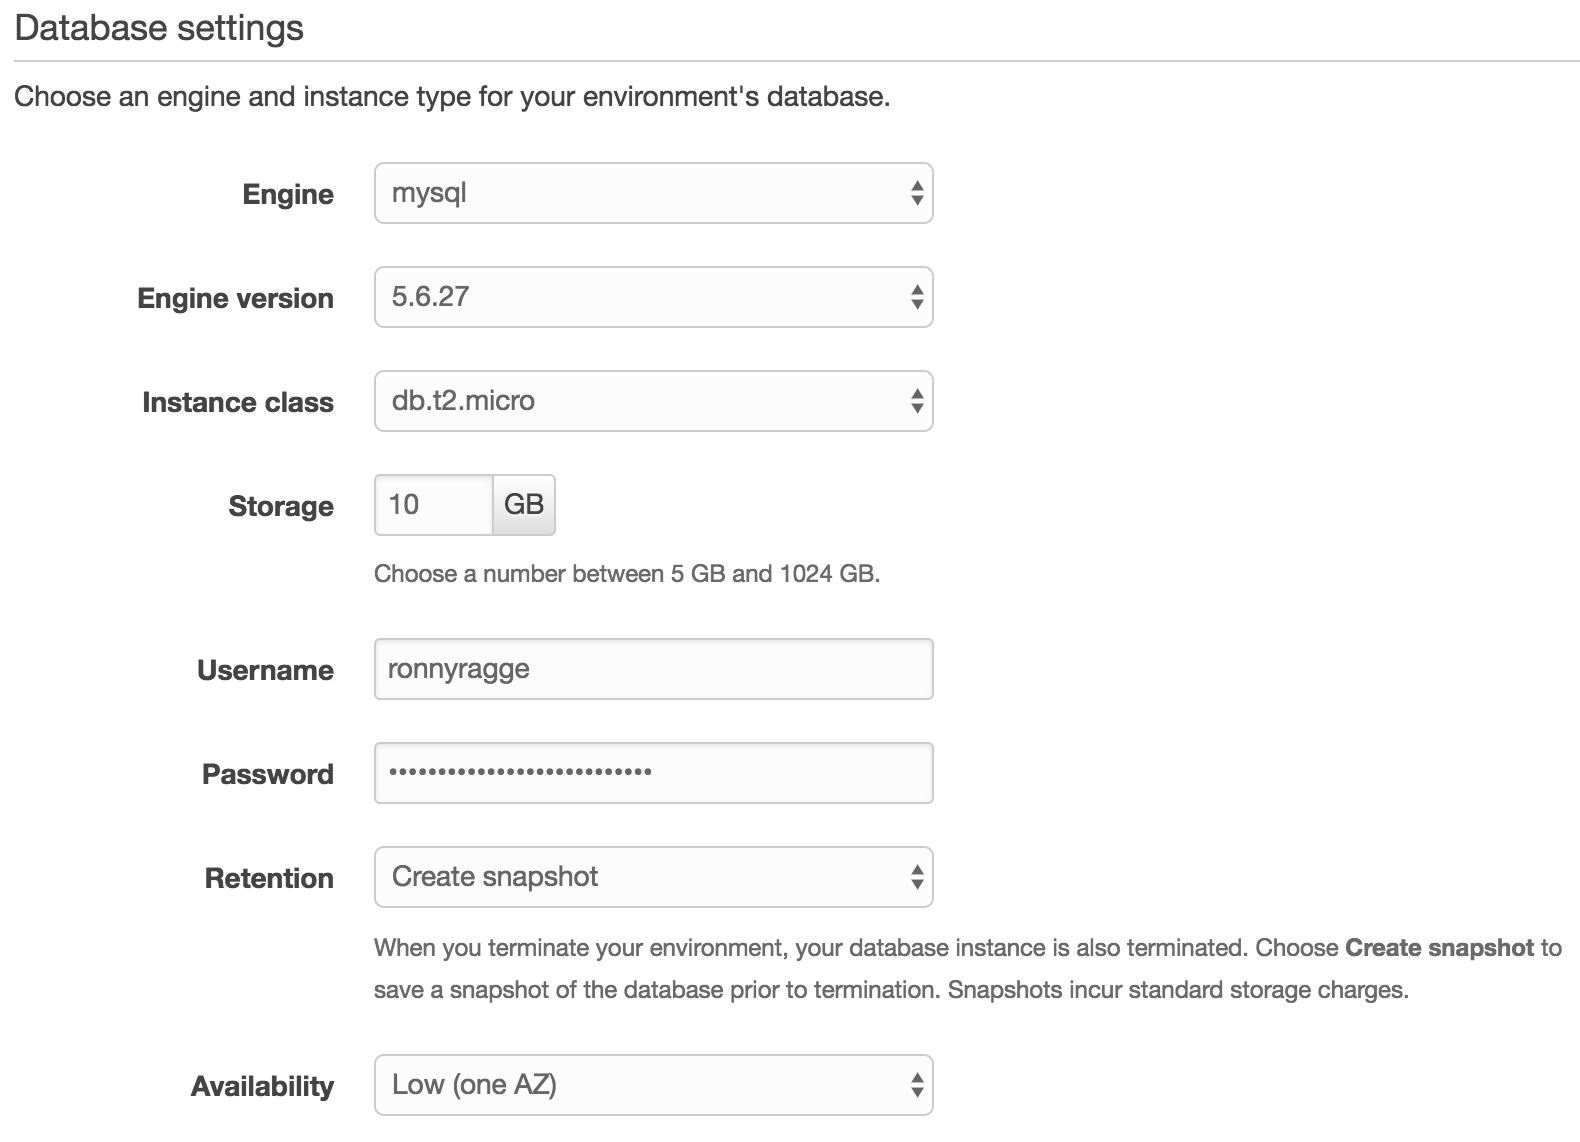
Database
Here I’m using the basic out of the box but depending on your production needs you can select Storage and if know that you have lots of load select a bigger instance class. Now fill in the same password and username you used with your environment variables.
Capacity / Load balancer / Notifications / Monitoring?
In this guide I’m using just the one server with port 80 but you might want to use different settings in production and you can explore on your own.
Security / Network
I’m using the default rules that will be created and can always be updated once deployed.
Ready to start application?
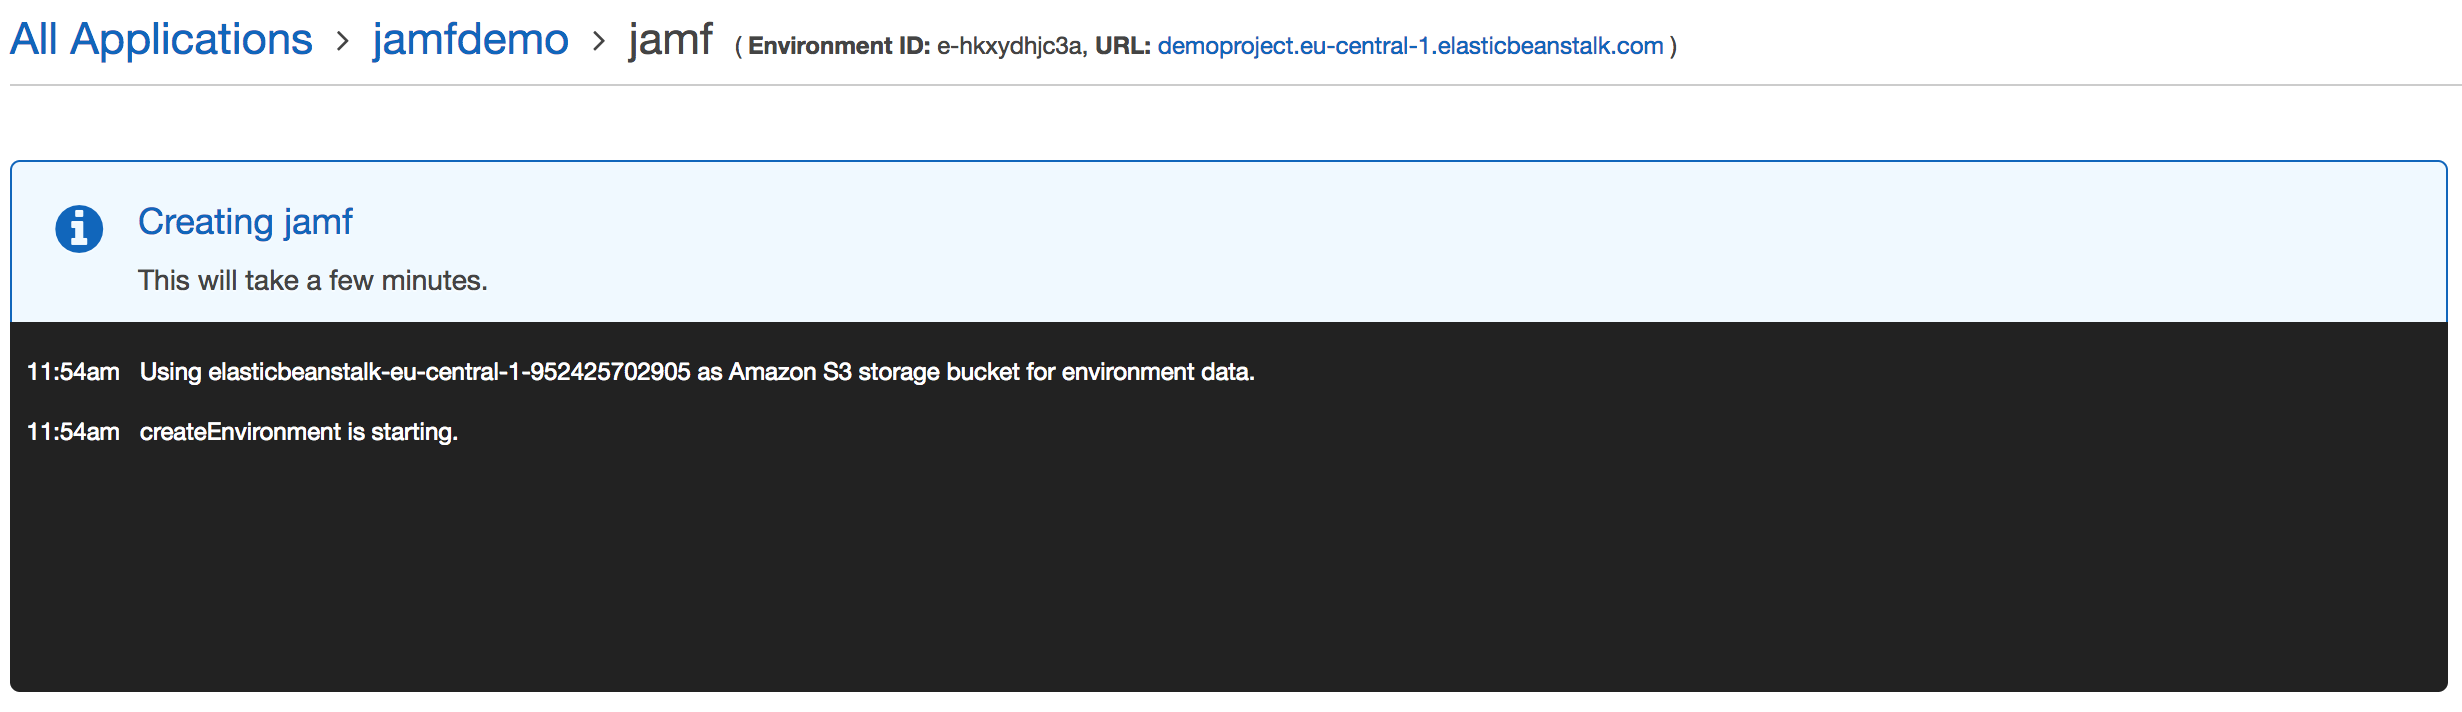
Now it’s time to hit the big button

This process will take 15-30 minutes depending on the load AWS has in your region.
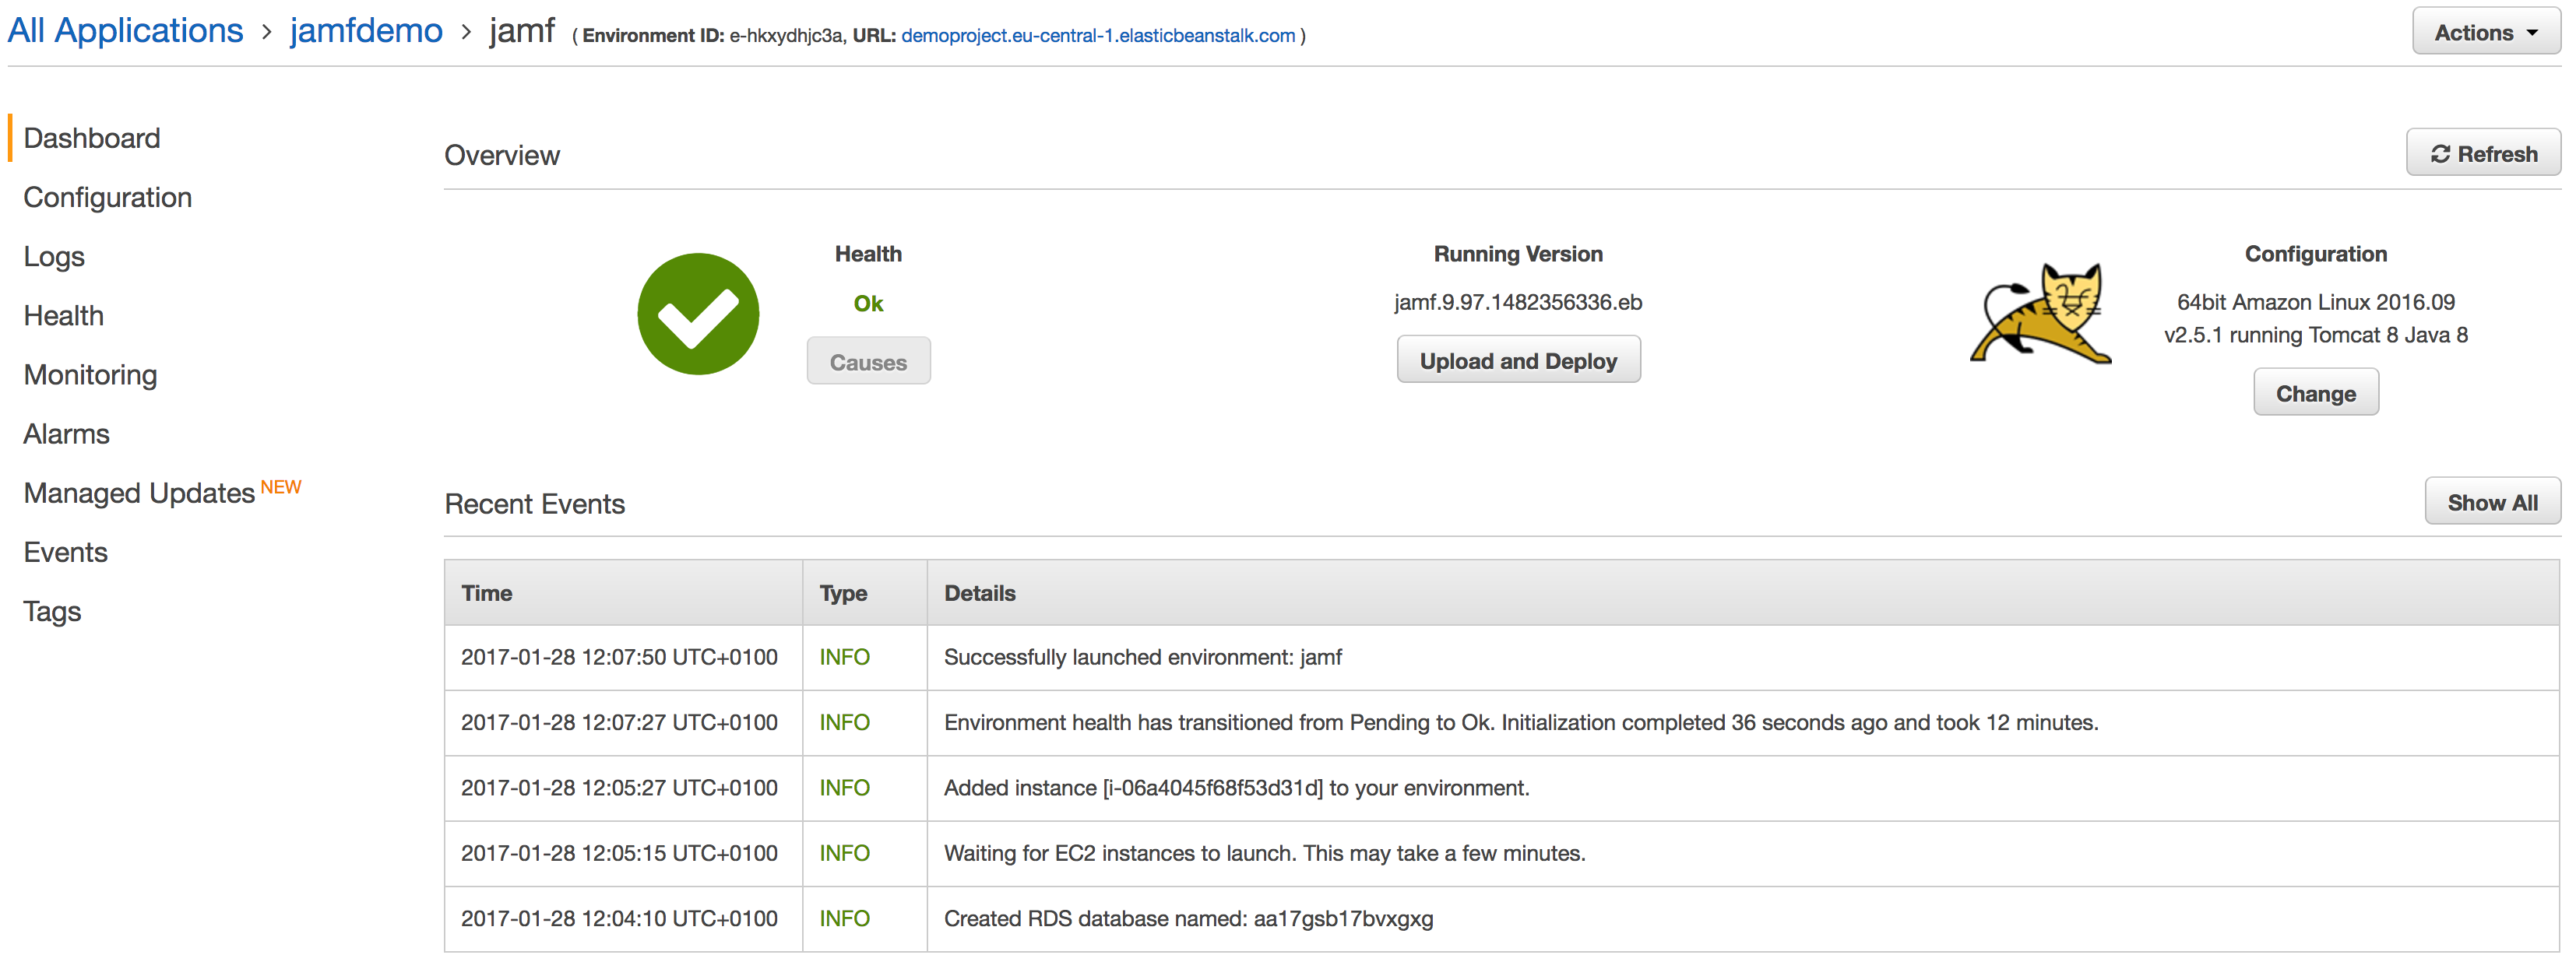
Once it’s all run in course refresh the site and it should look something like this if all went fine.
Jamf setup
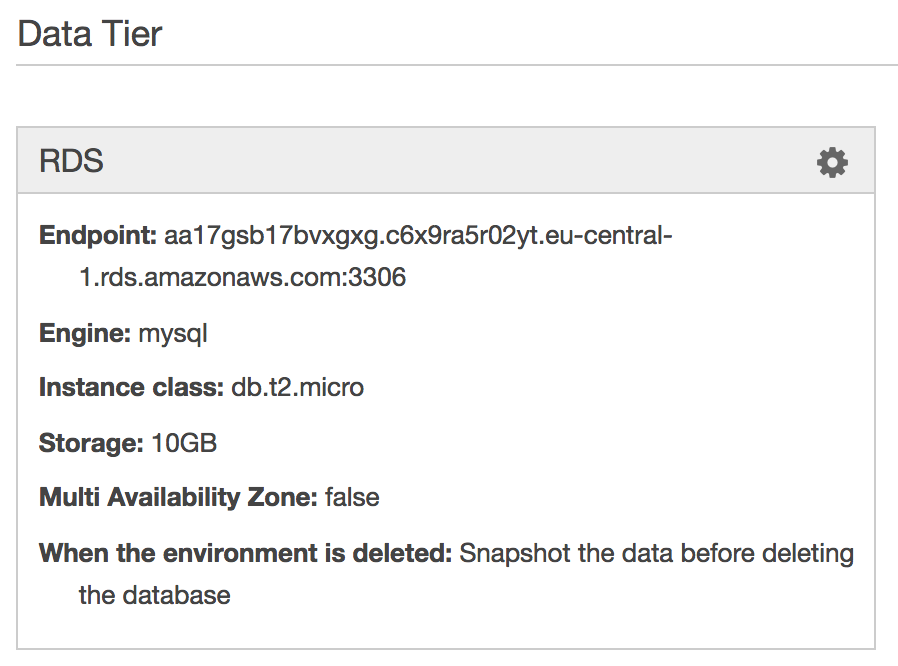
It’s time to configure Jamf Pro and until I finished bonus section you need to fill in this information manaul. Go to Configuration on the left side and copy the Data Tier > RDS > Endpoint URL.
To access the jamf dashboard use the URL you specified in environment. ex. demoproject.eu-central-1.elasticbeanstalk.com

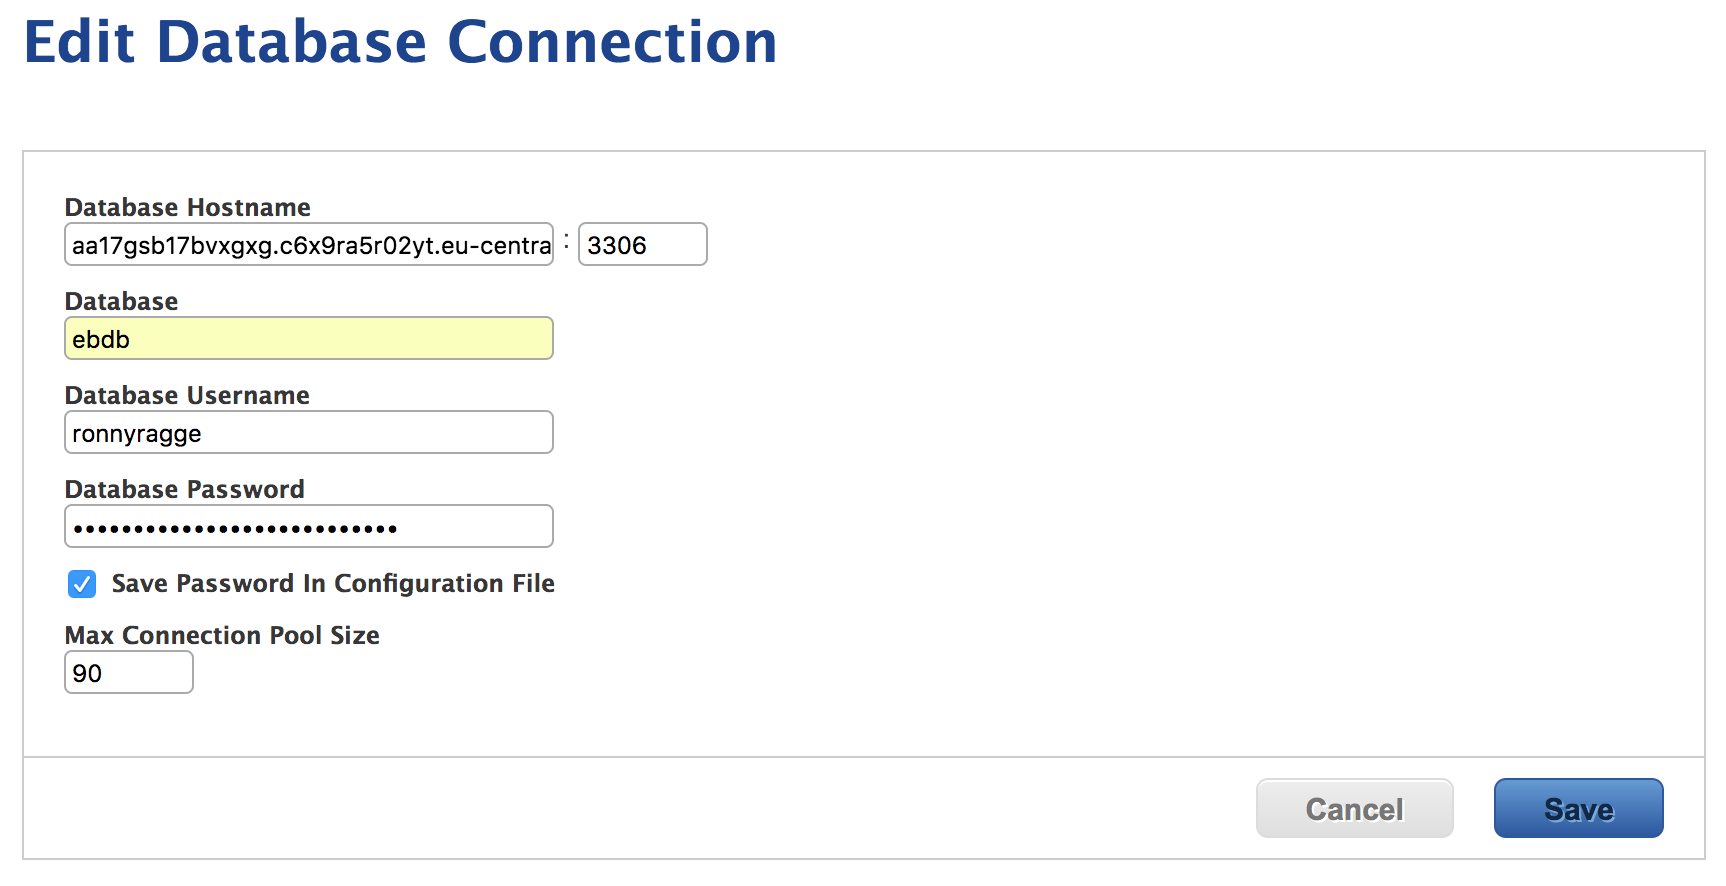
Currently you need to fill in your DB details manually but more will come in the bonus section.
You are ready to start using Jamf Pro! Congratulations!
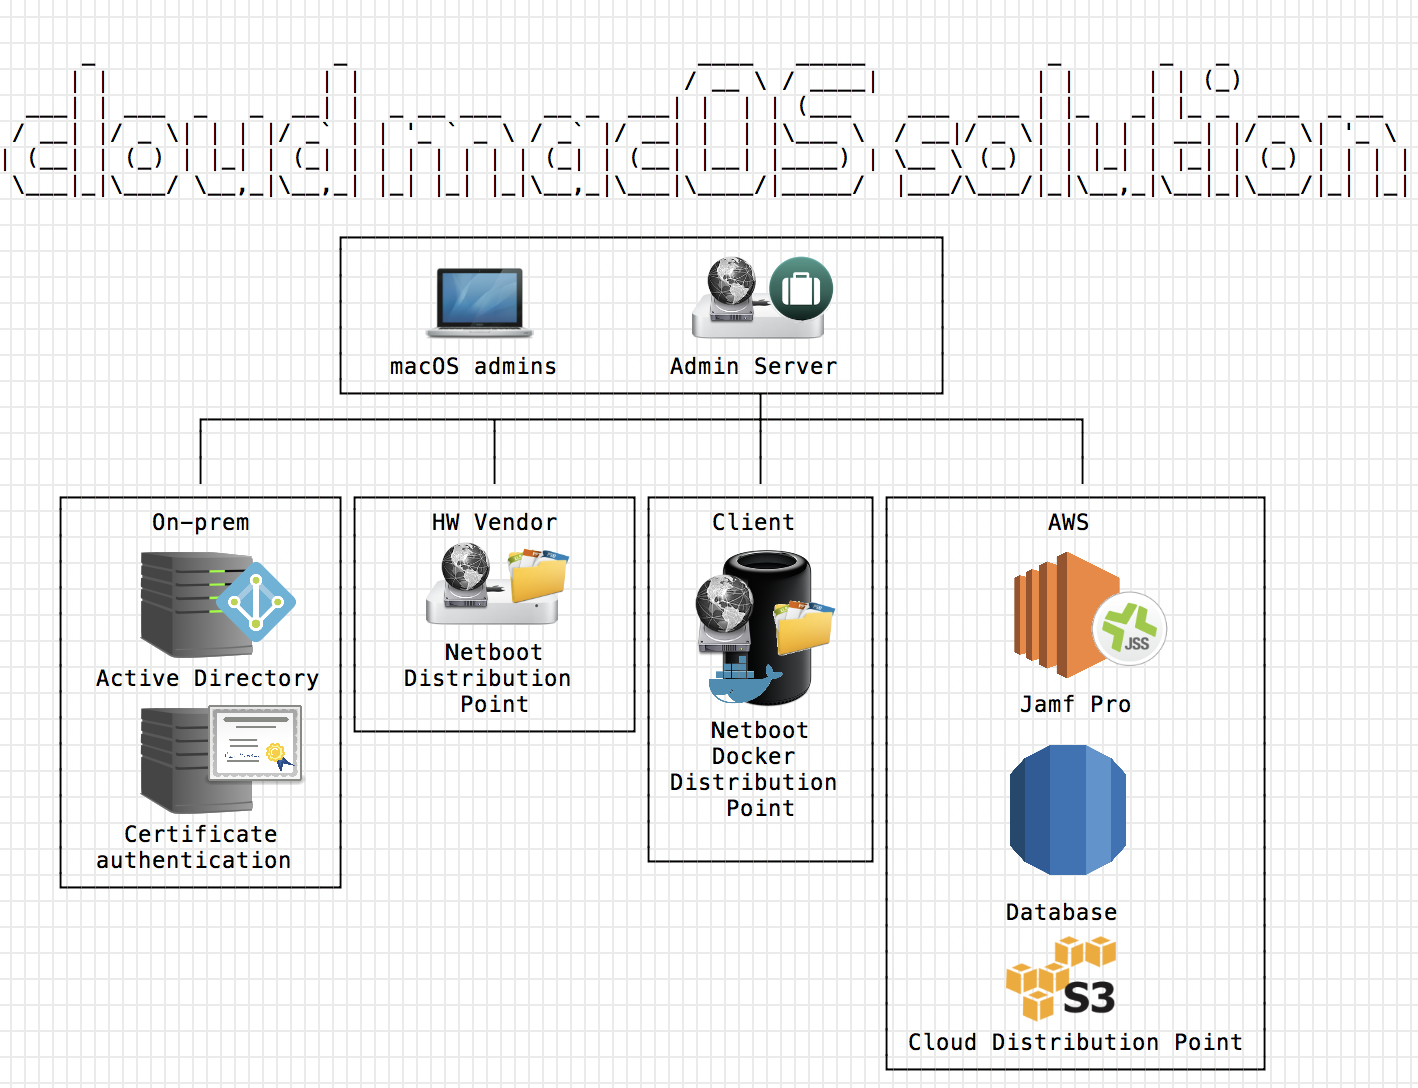
Production
I’m currently moving an environment to AWS instead of On-Prem. Here is a example on how this could look like in production.
Disclamer / FAQ
- There are some issues with uploading file inside the Jamf console so I’m using Jamf Admin to sync between a local Distribution Point and Cloud Distribution Point.