
In this tutorial I will cover how to setup a CrashPlan PROE server hosted in Docker container running on a Synology. Repo can be found at Github and Image at Docker HUB. ***
Prerequisites
- Synology hardware.
- 1gb of free RAM
Get started
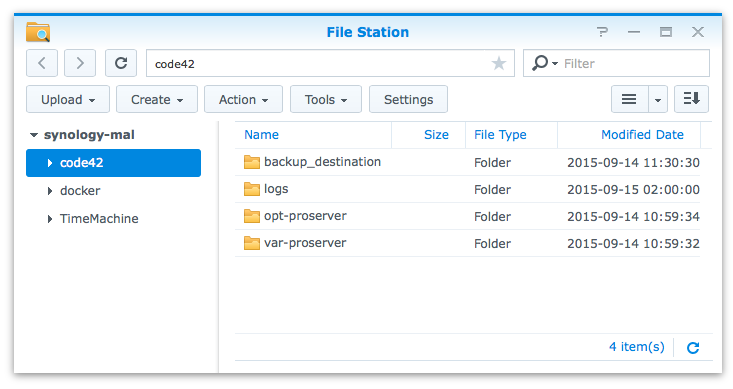
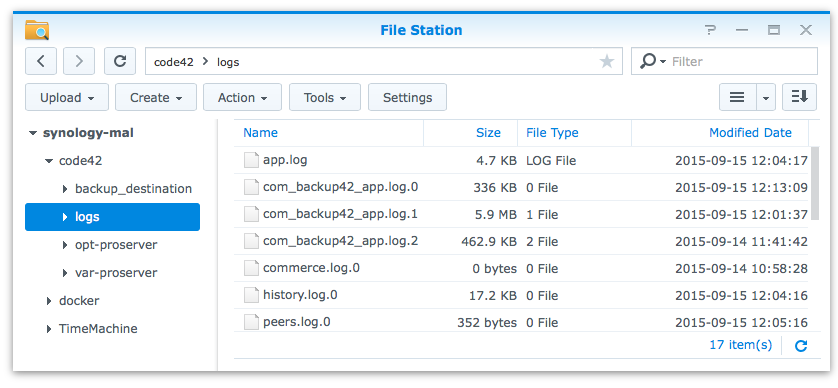
First you need create the folder structure that will be used to expose the code42 data and make it accessible directly from synology shares. In this example I want to expose all folder that contain CrashPlan data, logs and use a specific backup destination.
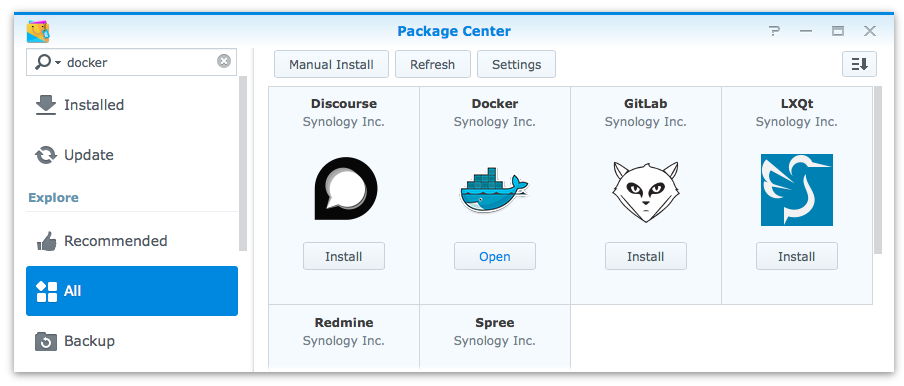
Next you need to install the Docker Applications using Package Center.
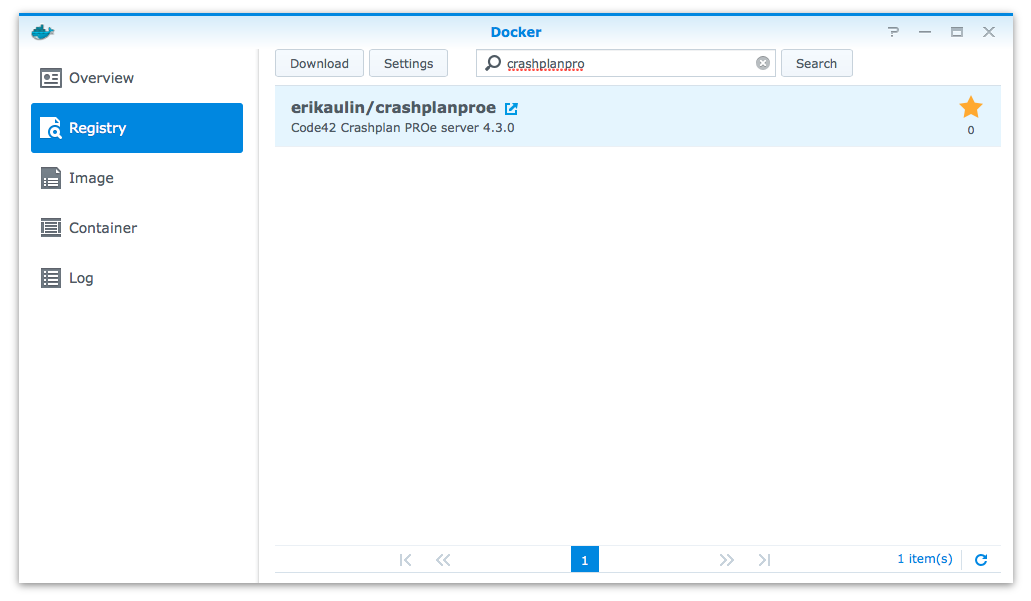
Download image and create container.
Start the Docker from menu and go to Registry search for crashplanproe select it and click on Download.
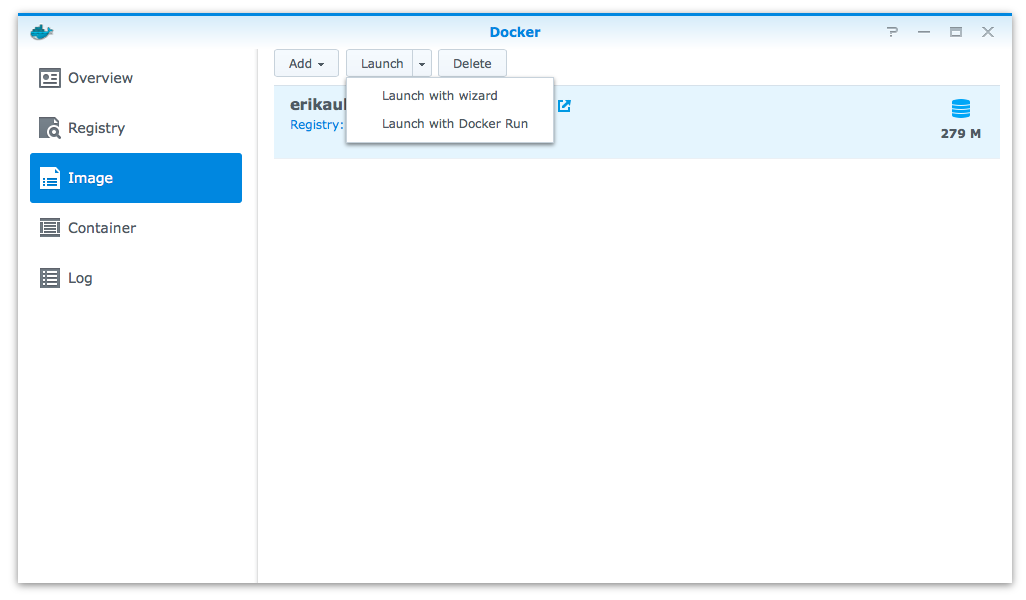
Next go to Image and Launch dropdown menu select Launch with wizard
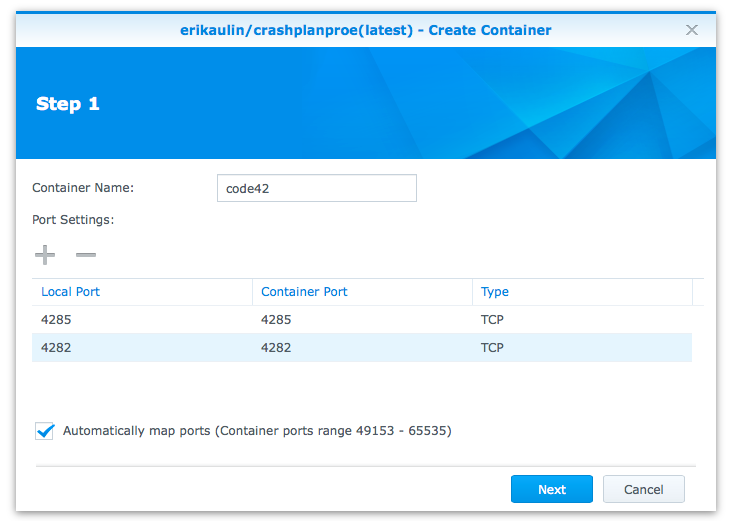
Choose a name for your Container and add ports needed.
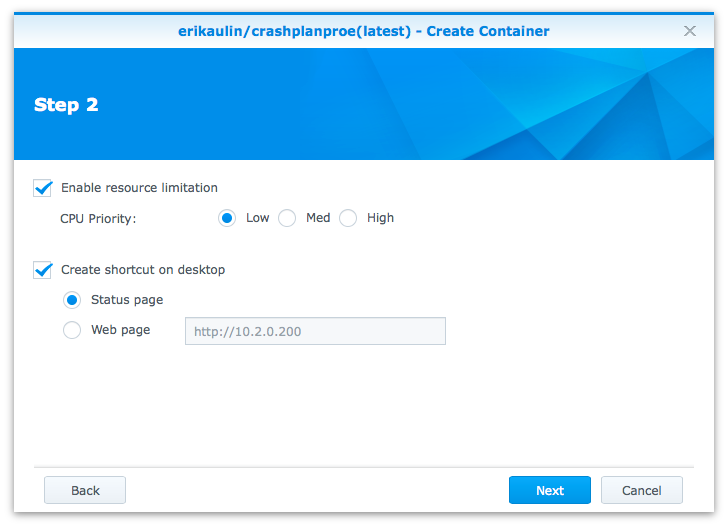
Select CPU Priority level and optional shortcut on desktop.
Before you hit Apply we need to set some Advanced Settings.
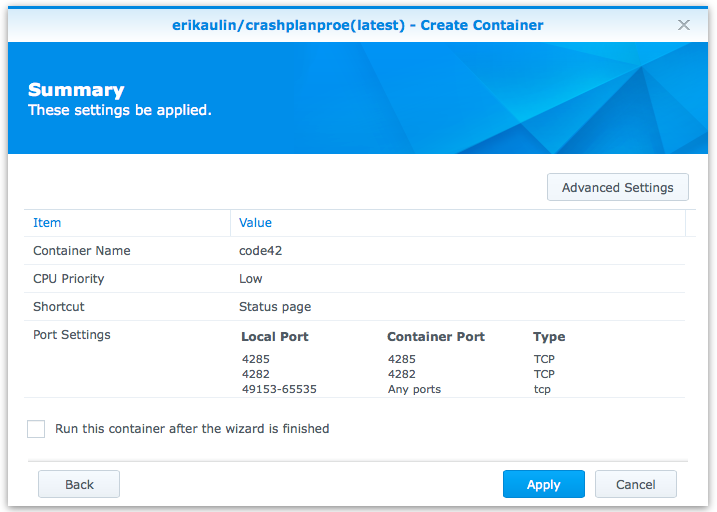
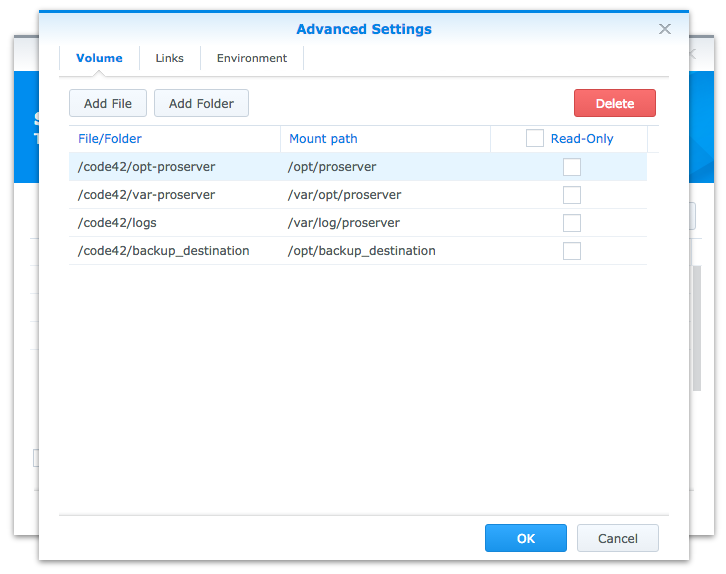
Now we get the option to specify what location should be exposed to the container. In this case you can use the folders we created. Once done hit OK and then Apply.
Using Code42 CrashPlanPROe Server
Starting the Container
Now you can click Container and you should see the code42 container. If its not activated click the power on icon. This part will take a while as it will download the binary’s and setup a default environment.
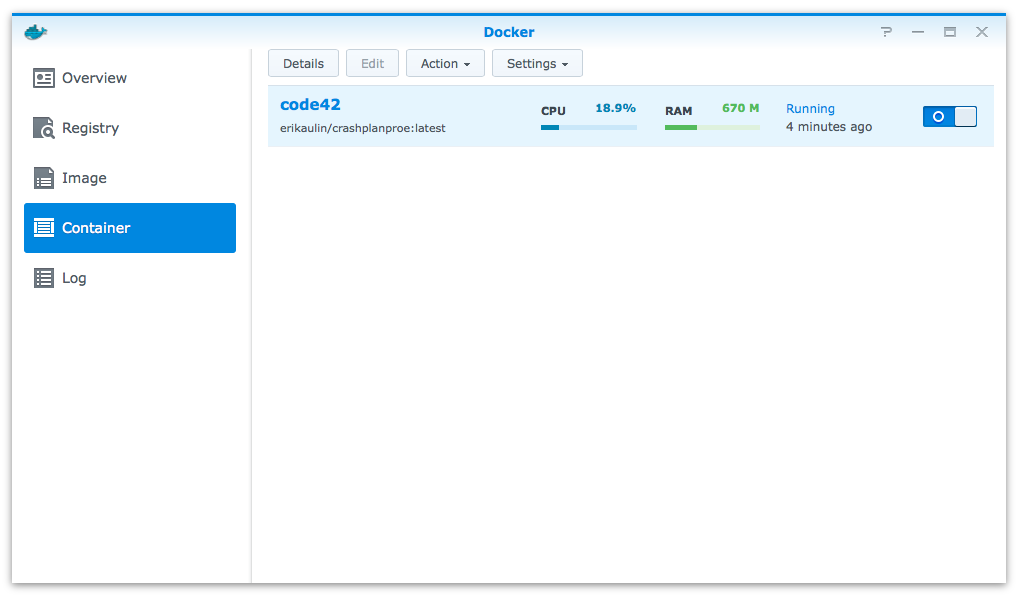
Once the service is up and running you can see that log files in the log folder you created.
Configure Crash Plan PROe services.
It’s time to configure the service. Head to the same IP as the synology but with https and port 4285.
In my case https://10.2.0.200:4285. Use the MasterKey or sign up for a trial.
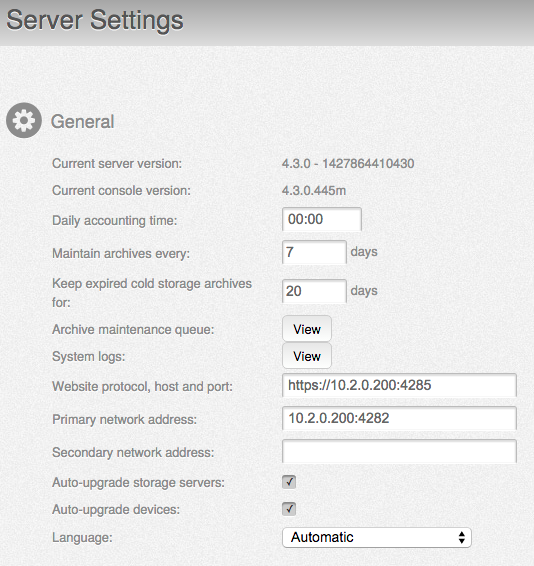
Now go to Settings > Server and change Website protocol, host and port to your synology IP. You also need to configure Primary network address that should be the same IP but with port 4282.
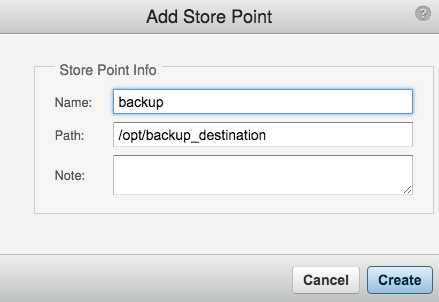
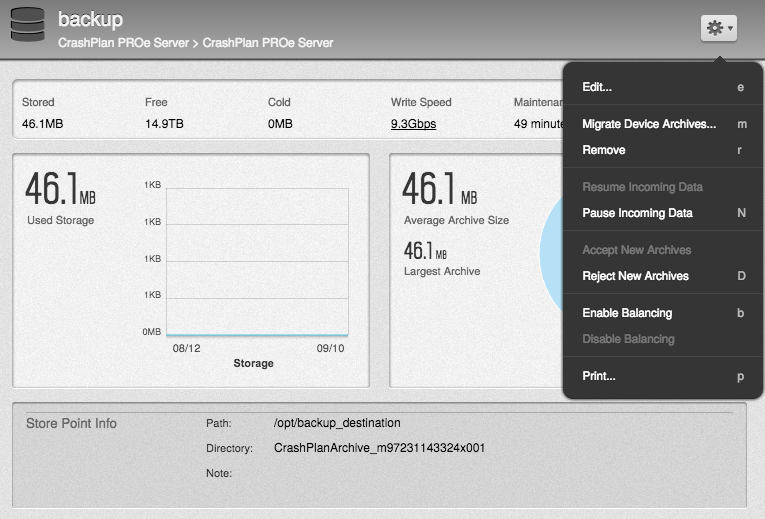
Now got to Destinations > Server and click the default server > cog > Add Store Point.
Fill in a name and location /opt/backup_destination
Next go to Destinations > Server and click the default storage > cog > Pause Incoming Data and Reject New Archives
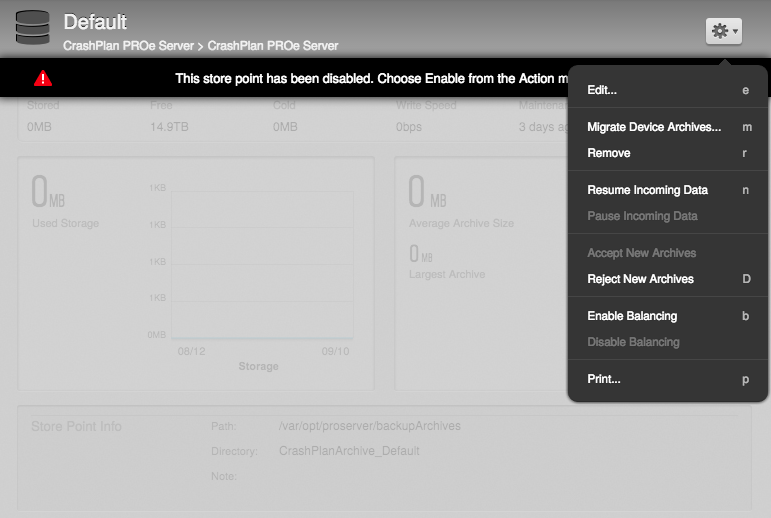
Next go to Destinations > Server and click the default storage > cog > Accept Incoming Data and Accept New Archives
That’s it!
Now the server is up and running and you can continue to configure the Code42 CrashPlanPROe server as it fits your needs.
Cheers!